Create an API key
Create a time-limited, project-scoped key for a trusted service that uses Orvelt APIs.
API keys authenticate automation. Each key is restricted to one project, expires after the period you choose, and is shown in full only once.
Create the key
Choose the project and expiry
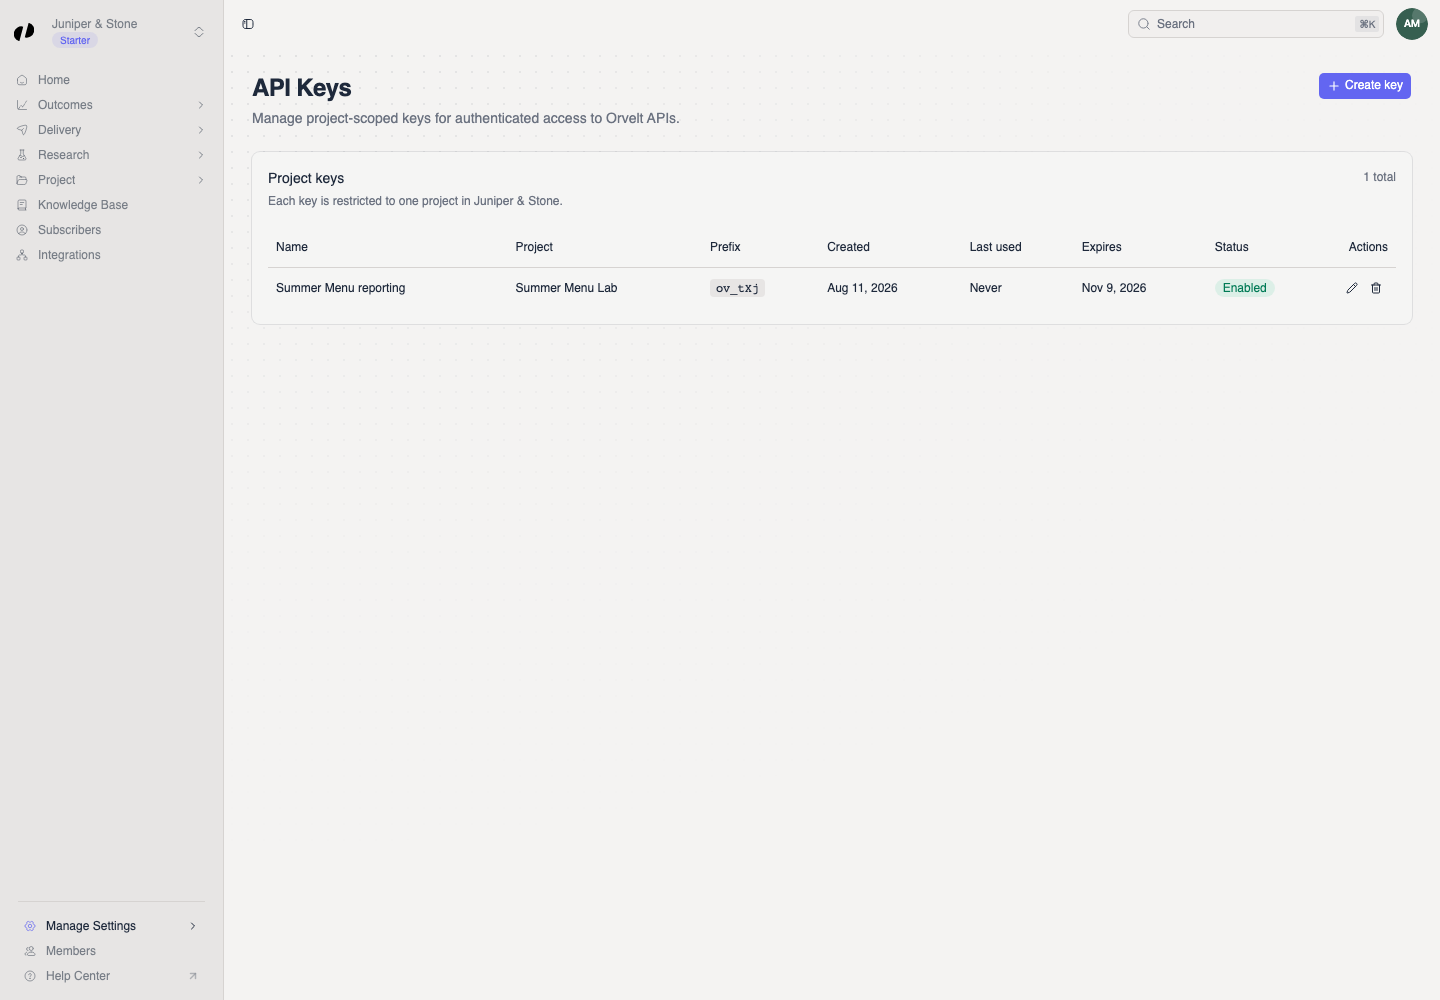
- Open Manage Settings > API Keys.
- Select Create key.
- Enter a Key name that identifies the service using it.
- Choose the Project. You cannot change this scope later.
- Choose an expiry of 30 days, 90 days, or 1 year.
- Select Create key.
Copy and store the secret
Save the one-time secret
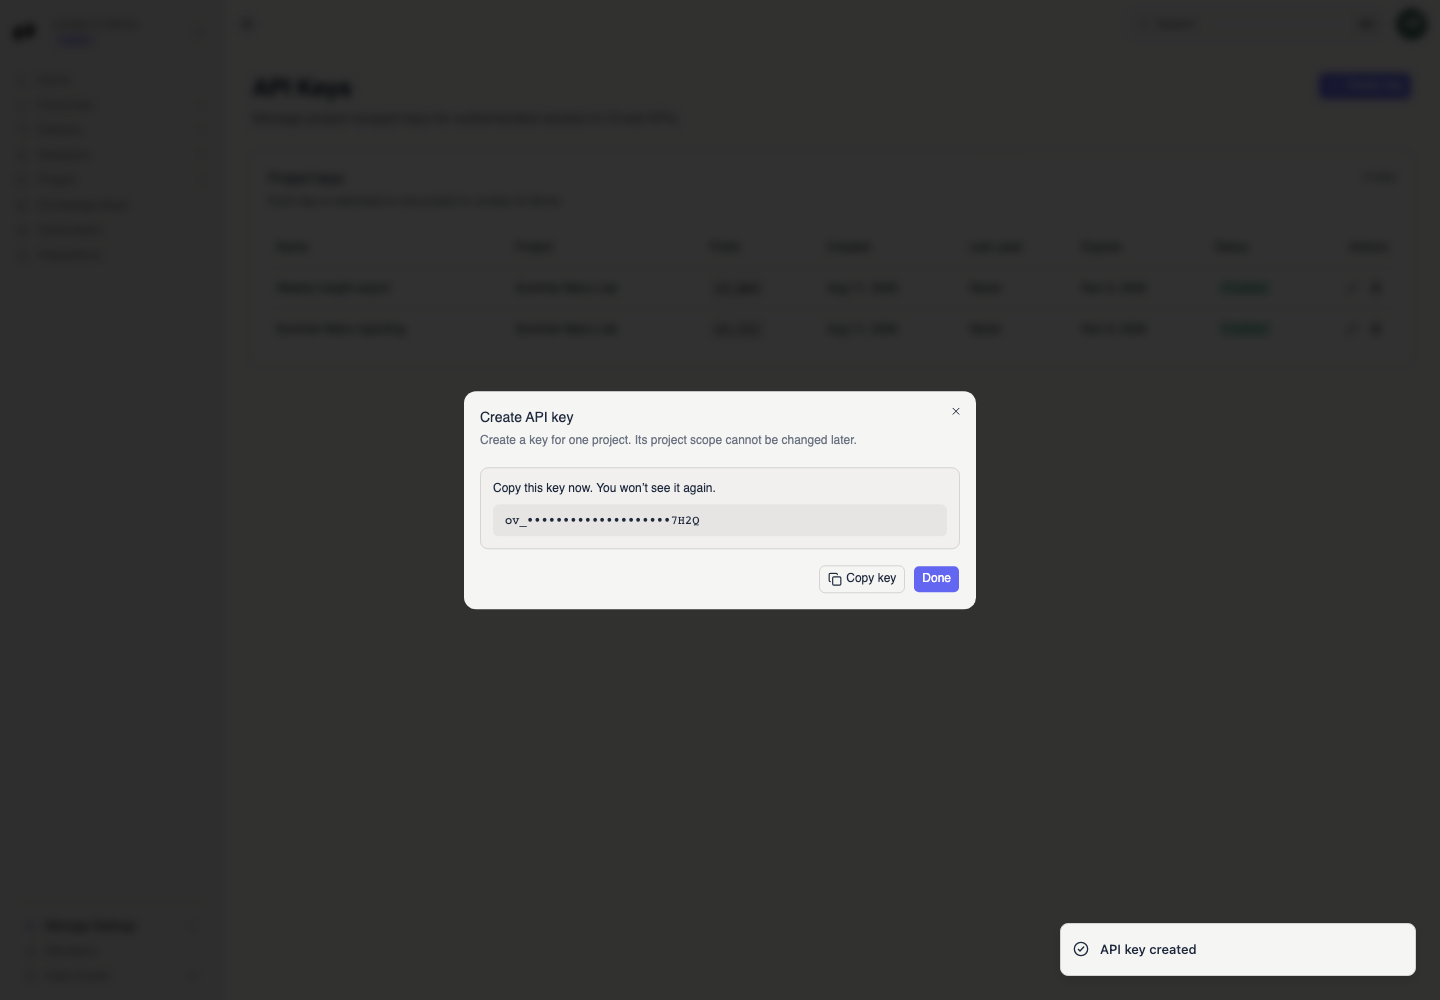
Select Copy key before closing the dialog, then store it in the service's secret manager. Do not put the key in source code, screenshots, tickets, or chat messages.
Review the key's access
The key appears under Project keys with its prefix, last-used time, expiry, and Enabled status. The key supports the access listed in the creation dialog, including read-only review and subscriber access, issued-link audit access, and preverified-link creation. It cannot manage QR codes, teams, billing, API keys, or webhooks.
If the key is lost or exposed
Delete it from API Keys, create a replacement, and update the service. Renaming a key changes only its display name, not its secret or project scope.