Manage Business sign-in security
Verify or change your email, link a sign-in provider, and add or manage passkeys.
These controls secure your personal Business sign-in. Organization membership and API keys are managed on separate pages.
Open Security
Verify or change your email
Select your avatar, choose Settings, then open the Security tab.
At the top, check that your email has the Verified badge. If it is unverified, select Verify, enter the six-digit code, and choose Verify Email. Use Resend Code only when the earlier code does not arrive.
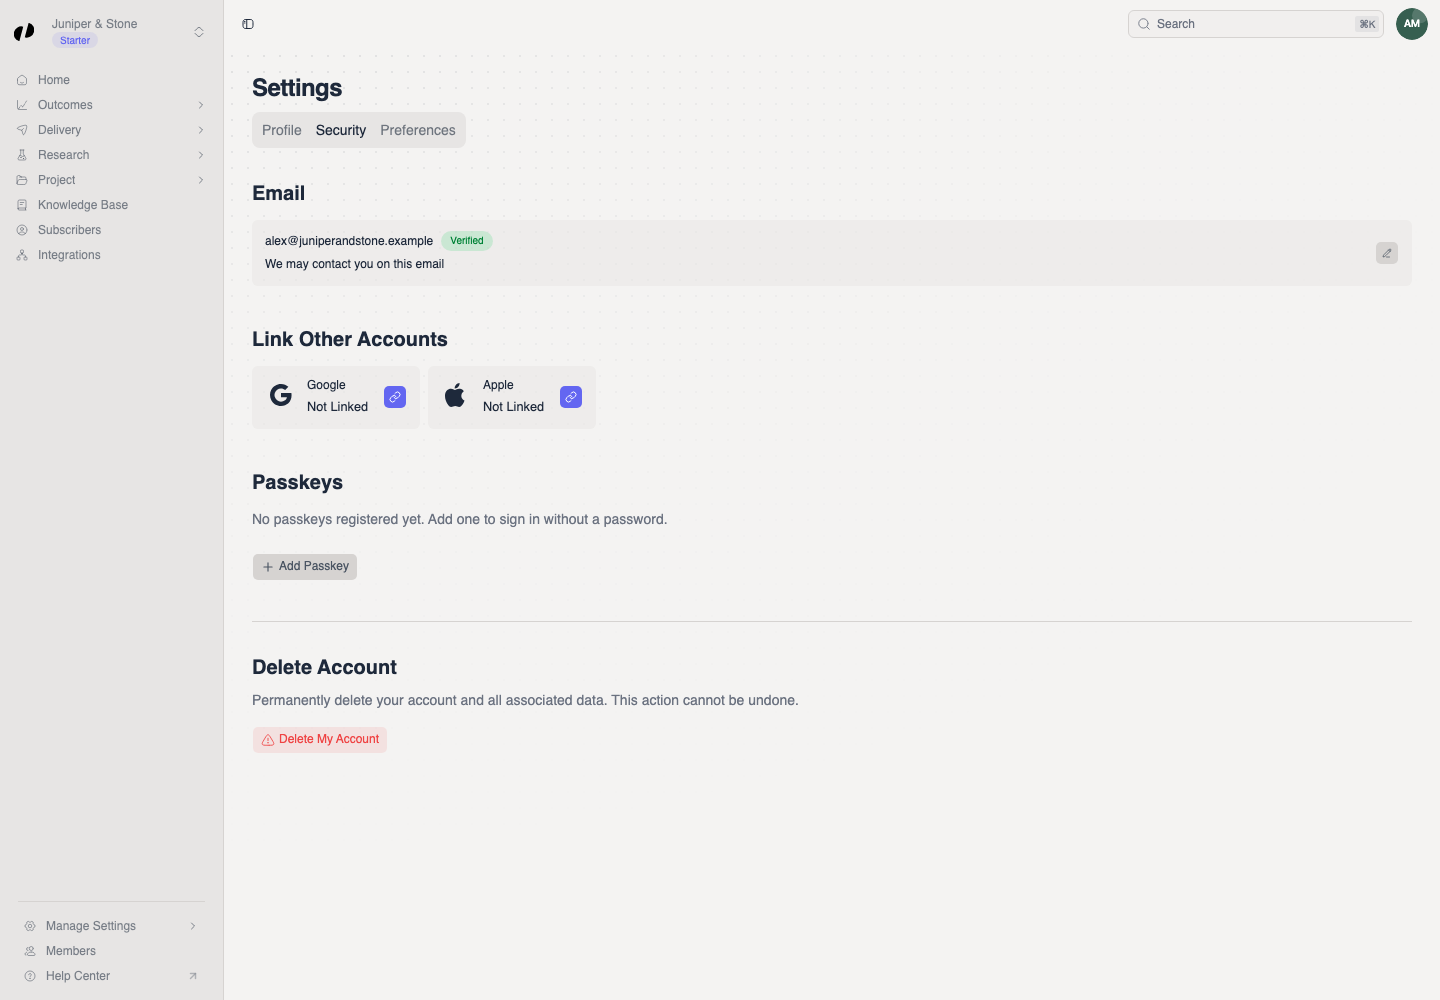
To change a verified email, use its edit control, enter the new address, select Continue, review Confirm email change, then choose Send Verification.
Link another sign-in account
Connect Google or Apple
Under Link Other Accounts, use Link Account for Google or Apple. Complete the provider's sign-in flow and return to Security. The card changes from Not Linked to Linked. Do not unlink the only method you can use to reach the account.
Add or manage a passkey
Register, rename, or remove a passkey
Scroll to Passkeys and select Add Passkey. Follow the browser or device prompt. Existing passkeys provide Rename and Delete controls.
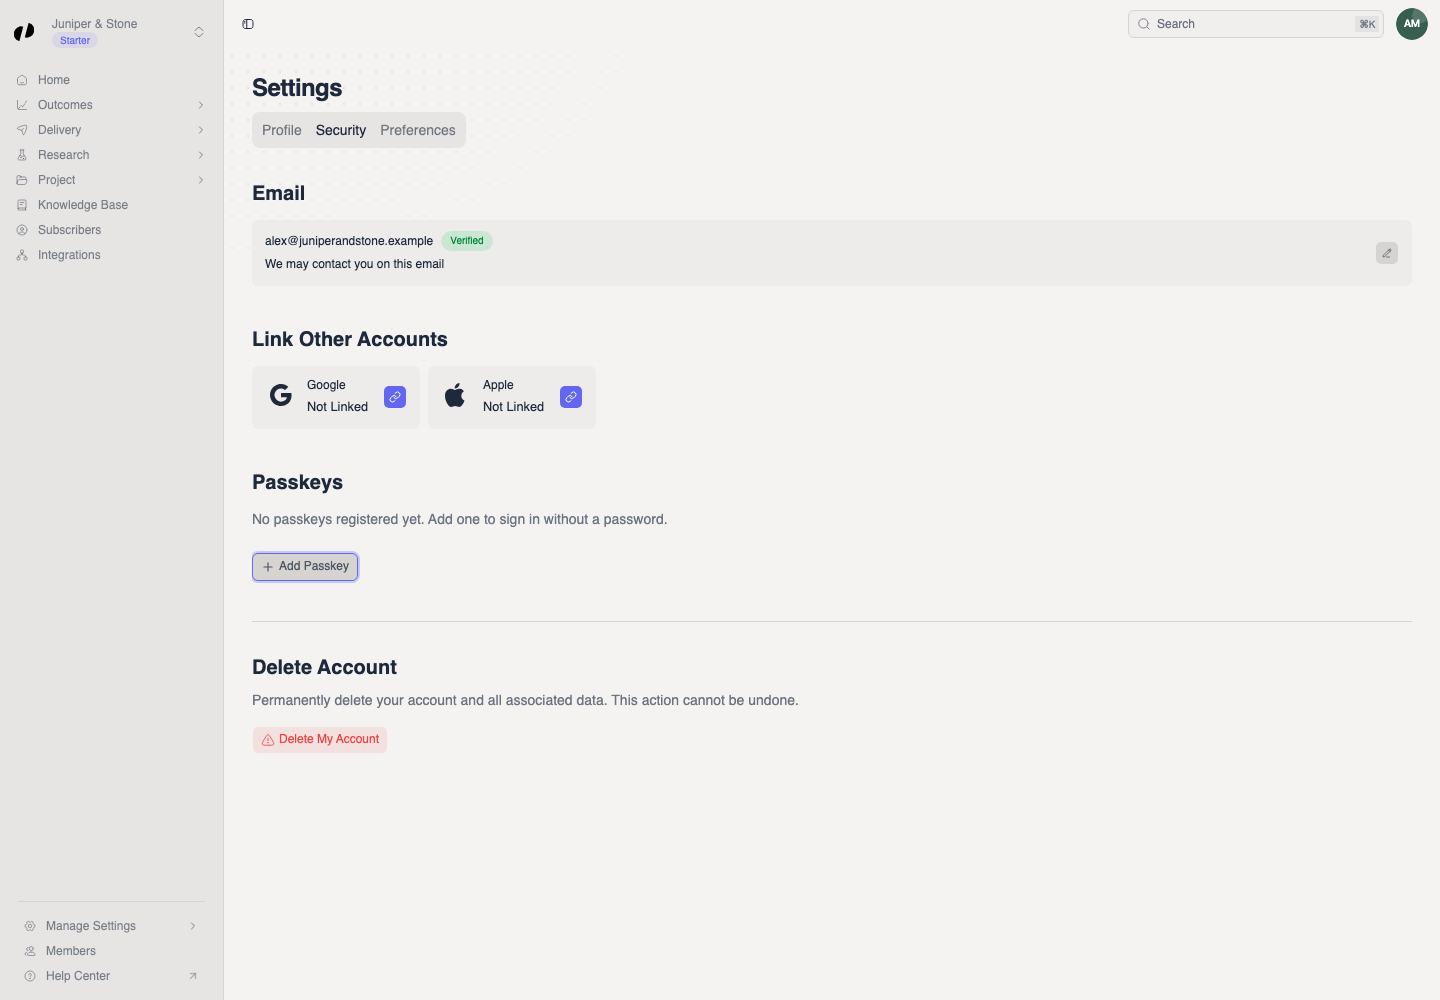
If a passkey prompt does not appear, try a current browser on a device with screen lock enabled. If provider linking returns without changing the card, reload Security once and retry the provider flow.