Create a project
Create a published project with its own public route, team, questions, and feedback.
Updated August 10, 2026
BusinessProjects
Use a project for a focused feedback program, such as a seasonal menu, product launch, or service change. Your organization already has a Storefront project; create another project only when the feedback needs its own public route and team.
Create the project
Name the project and public route
- Open any project in Orvelt Business.
- Select the project name in the page header.
- Choose Create project.
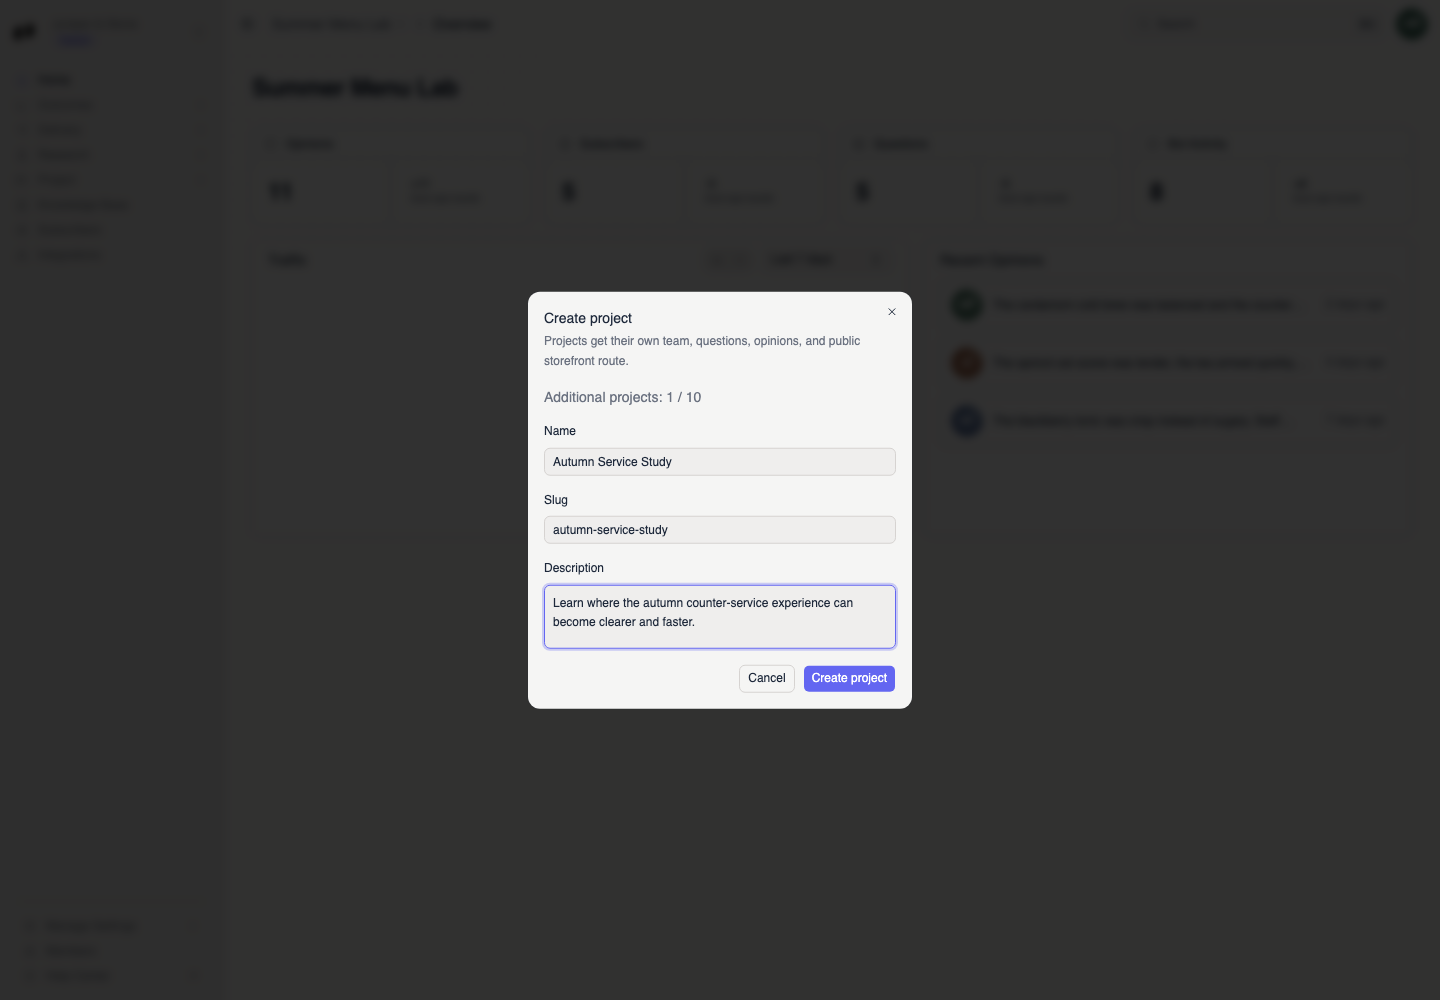
- Enter a Name. Orvelt proposes a lowercase Slug for the public route.
- Edit the slug if needed, using only lowercase letters, numbers, and hyphens.
- Add an optional Description, then select Create project.
Confirm the project and team
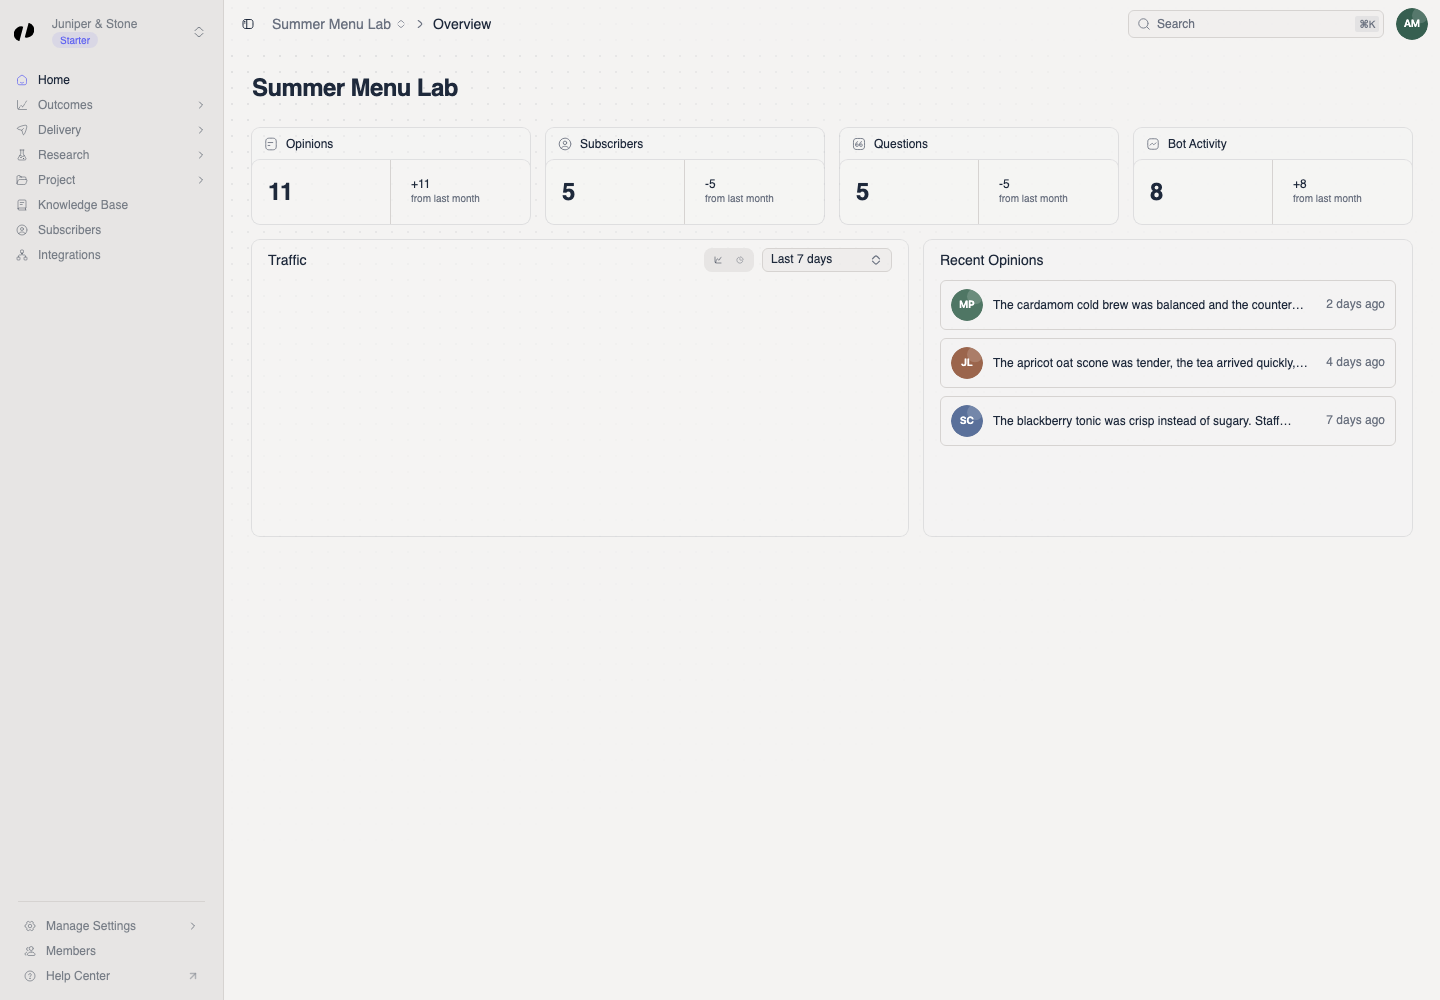
Orvelt publishes the project, creates its team, and opens its Overview. The Project created message confirms the save.
If you cannot create it
Check the slug, plan, and access
- A slug must be unique. Change it when Orvelt reports a conflict.
- If the dialog says the additional project limit is reached, review Manage Settings > Billing or ask an owner to do so.
- If Create project is missing, ask an owner or admin for team access.