Create your business
Sign up for Orvelt Business and complete the three-step setup that creates your organization, your public Storefront, and your first project.
Your organization is your business's home in Orvelt. It holds your public Storefront page, your projects, your team, and your billing. Setting it up takes about five minutes and three screens.
Before you start, have ready:
- Your business name, a logo (a square image works best), and a one- or two-sentence description.
- Your website, if you have one.
- A phone number you can receive a verification code on, or 3 photos of your business.
Sign in
Go to business.orvelt.com and sign in with your email address or Google account. If you've never used Orvelt, signing in creates your personal account and starts the setup.
Already manage a business on Orvelt?
To set up a second business, such as another brand or a client, open the organization switcher at the top of the sidebar and select Add organization. Each organization has its own Storefront, projects, team, and billing.
Step 1: Business identity
The first screen is titled Let's connect you with users that love you.
Enter your business name. After 4 characters, Orvelt shows matching businesses that are already listed. If yours appears, select it to request admin access. If it doesn't, keep going to create it as a new business.
Add your logo, description, website, and categories. The description is the first thing customers read about you, so say what you do and what makes you different in plain words. Choose at least one category, like Café or Bakery, so customers browsing by category can find you.
Check your public URL. This is your Storefront address: orvelt.com/stores/your-business. Wait for the indicator beside it to show the URL is available. If it's taken, change the last part, for example by adding your town: juniper-and-stone-portland.
Select Continue.

Step 2: Verification
You only need one of these. Orvelt creates your organization as soon as you continue.
Verify your phone number, or upload 3 photos of your business. To use your phone, enter the number and type the code Orvelt sends you. If you request another code, use only the newest one. To use photos instead, drop at least 3 of them, like your storefront, signage, or products. Only Orvelt can see them.
Decide whether customers can call it. If you verified a phone number, Use this number for your business shows it publicly as your business phone. Clear it if the number is personal.
Select Continue.
Step 3: Outcomes
The last screen helps Orvelt understand what success looks like for you.
- Rank the outcomes you want help with, most important first. Choose at least one.
- Choose the marketing channels you use today.
- Optionally, add your monthly marketing spend.
- Select Complete Onboarding.
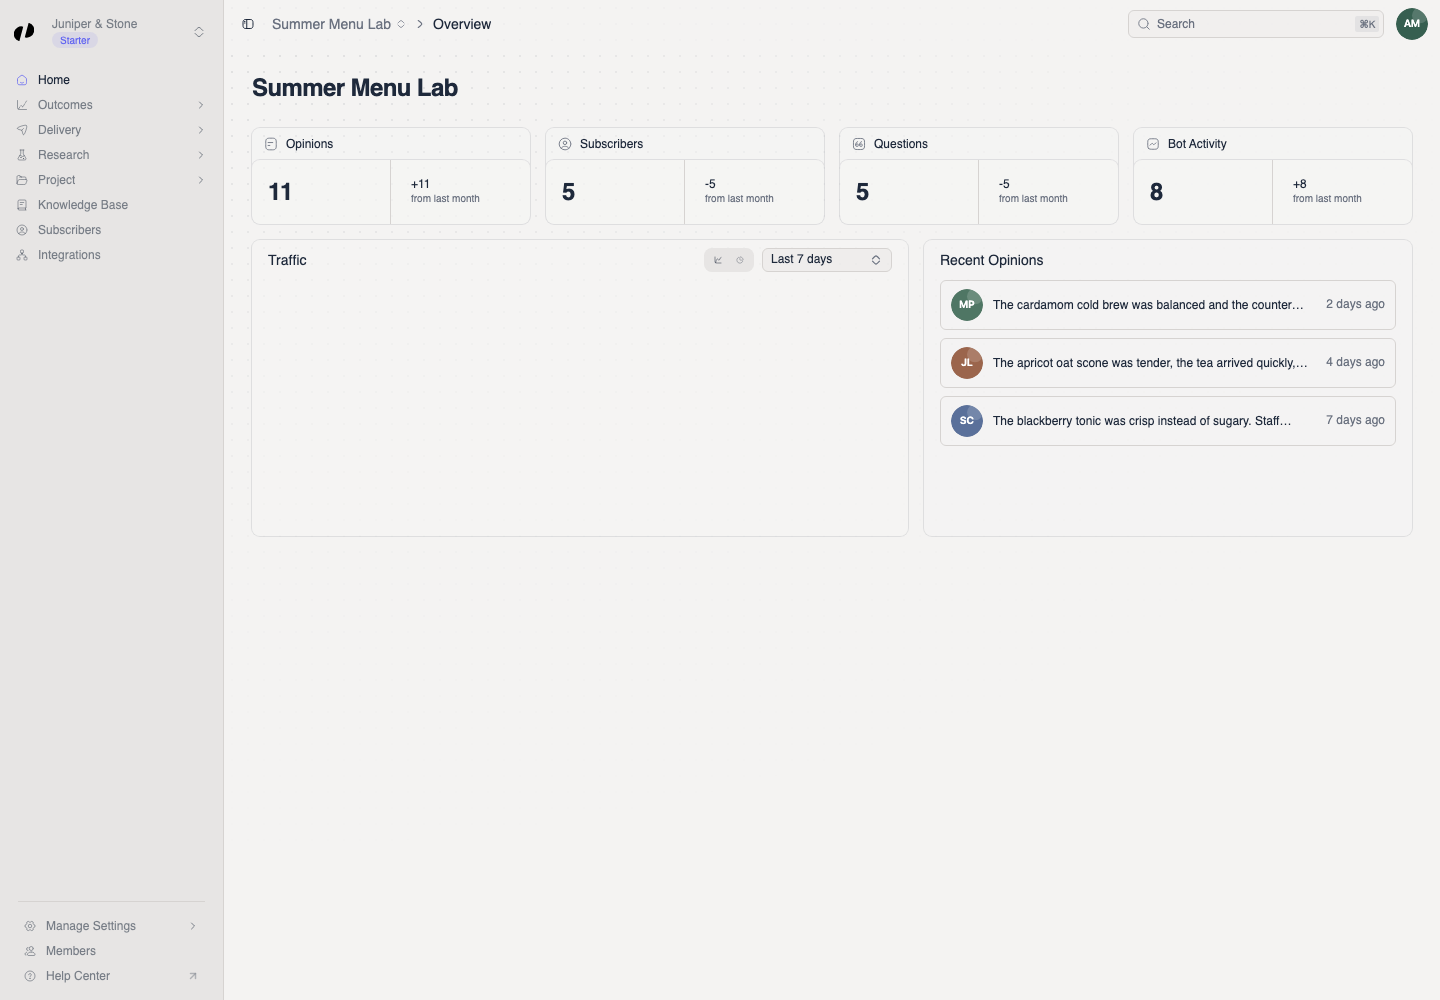
Orvelt creates your organization and its Storefront project, the project that represents your business as a whole, then opens Orvelt Business.
If your business is already listed
Businesses can't be claimed during setup. Select your business in the search results to open Request admin access, enter your role, and add photos that prove you work there, like a business license, a utility bill, or signage. Select Send request. Orvelt emails you to confirm it, then again with the decision. Most requests get a response in less than a day, but it could take up to a week.
What you have now
- An organization with you as its Owner.
- A public Storefront page at the URL you chose.
- A Storefront project with a starter set of questions, ready to collect opinions.
- The free Launch plan. No payment details needed.
If setup doesn't finish
Every Storefront URL is unique. Change the last part of the URL, for example by adding your neighborhood or city, and wait until the indicator shows it's available before you select Continue.
Codes expire, and only the most recent one is valid. Request a new code and enter only the newest one. Check that you typed the number with the right country code.
If a colleague already set up the organization, don't create another. Ask them to invite you from Members, then accept the invitation while signed in with the email it was sent to. If you don't know who manages it, request admin access. Team and roles
A new business may be waiting for Orvelt's approval. You can't edit the Storefront until it's approved, but you can still set up projects and questions.